
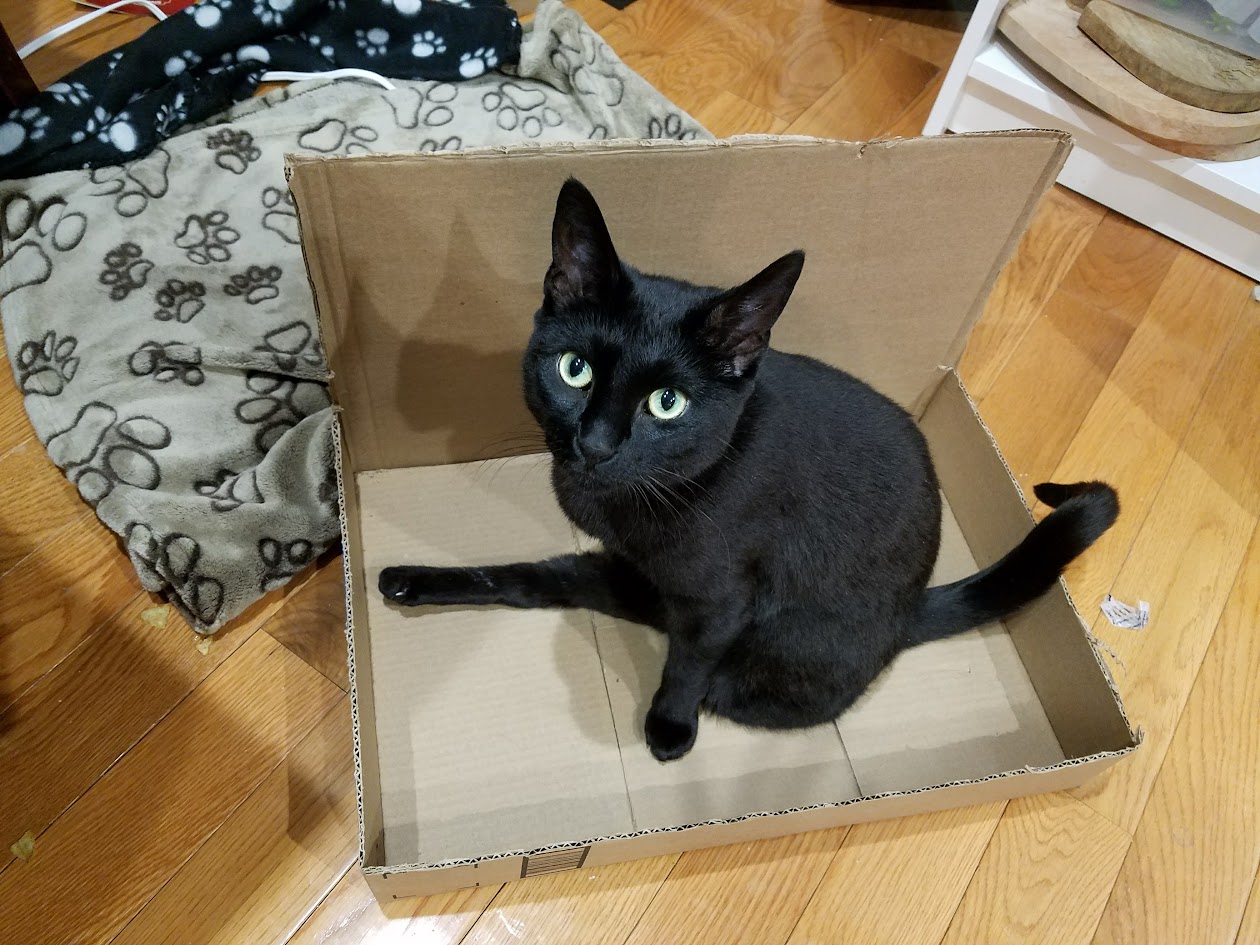
A recent forum post reminded me that I’ve wanted to update my litterbox modification advice based on some trial and error tips I’ve developed over the last many months. So, here we go! Litterbox tips and tricks for severely disabled kitties! (E.g., poor Feta, who still essentially has 2.5 legs, since she can’t bend her remaining hind one.)
It’s often a good idea to have more than one box.
With Feta, since she sits her bum directly down on the litter, being able to potty in a CLEAN box is extremely important. Since she likes to pee and poo at the same time of day (cats, go figure) this means she often needs 2 separate boxes, so she can pee in one and poo in the other. Much as I dislike having DOUBLE the mess and eyesore, it’s better than cleaning up messes outside of the box!
Mats, mats, and more mats!

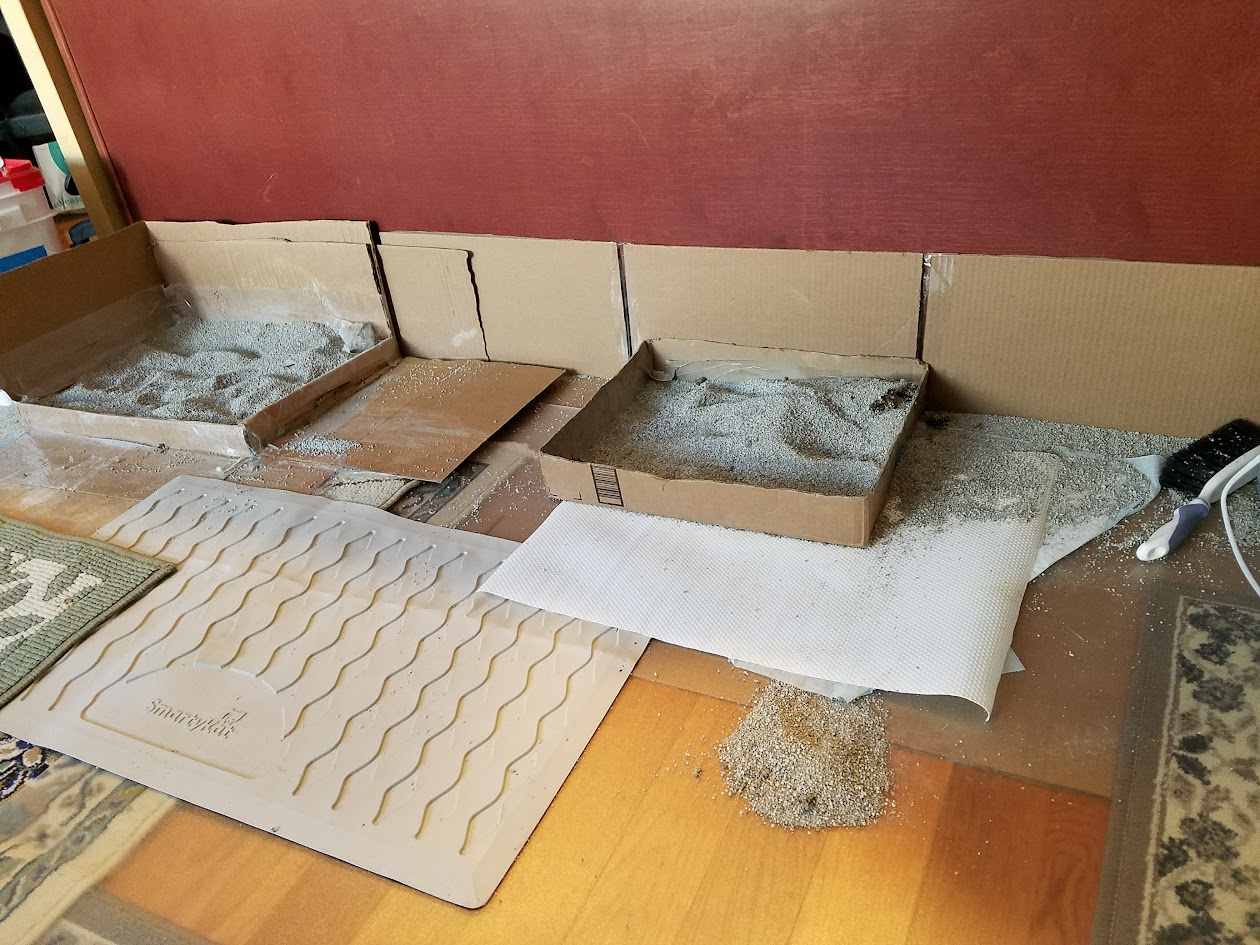
I now have two plastic floor protectors underneath my entire setup, for ultimate floor protection, with puppy pee pads underneath in case of spillage. (Once Feta missed the box and it went under the plastic, and that was gross and unhappy.)
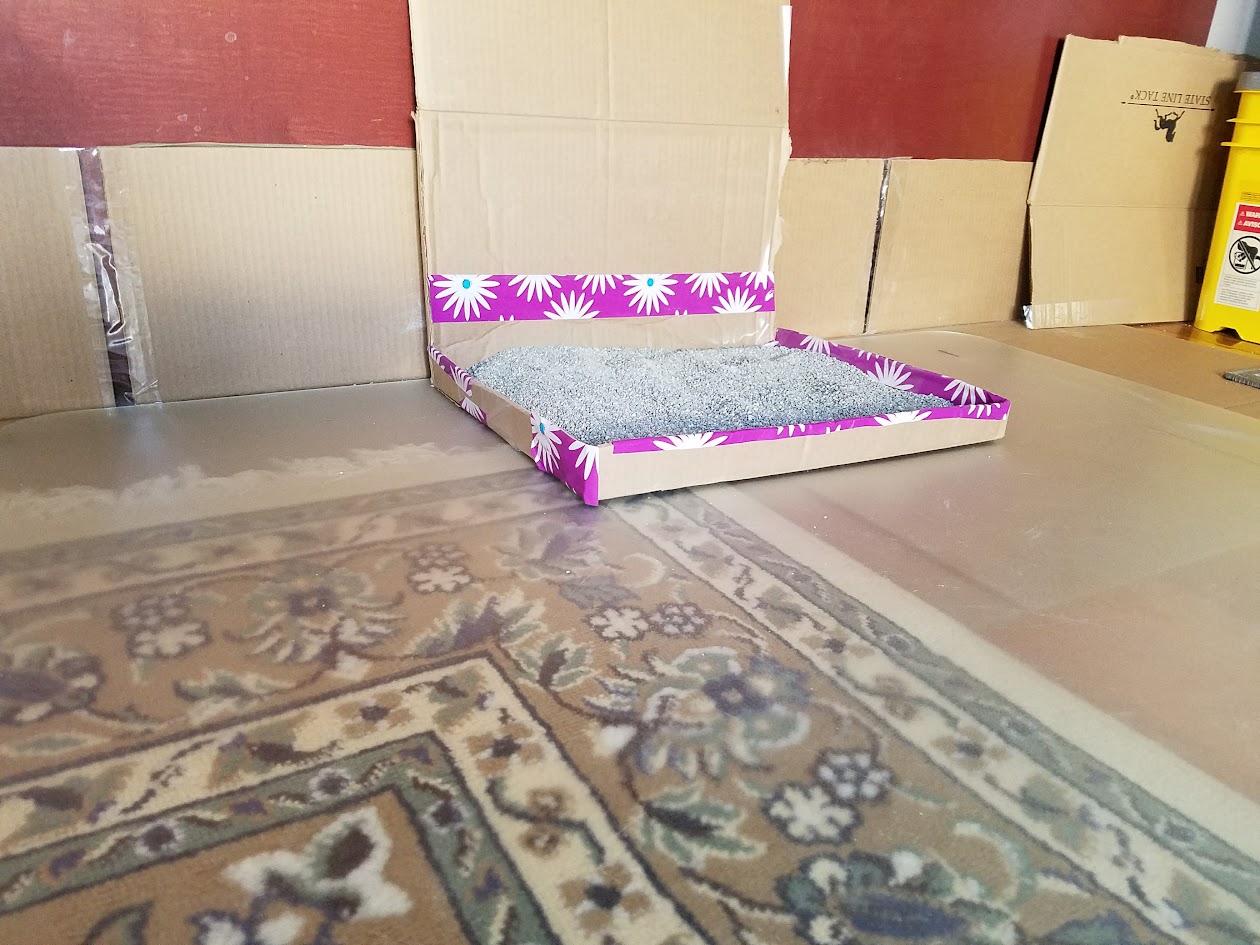
“Open” access is critical. Wings and walls are a no-go.
This obviously varies by kitty, as some actually prefer having something to lean up against. Feta, however, has trouble maneuvering – it is hard for her to turn around – and so she needs an “open floorplan” to avoid feeling trapped and panicked. This means Flat, no wings, no walls. For example, this is a no-go for Feta:
Again, this is a big bummer since obviously it leads to a lot of litter spillage, but it’s still better than cleaning up messes directly on the floor.
Now, it’s time for arts and crafts! Make your very own artistic box for your cat to pee and poop in!!!!
Instructions for Feta-Approved DIY Handicapped-Accessible Litterbox
With all these tips in mind, this is how I am currently making Feta’s boxes. Using this method, they last pretty well, and I generally only replace them every few months.
Supplies needed: Packing or duct tape, superglue for reinforcement, scissors or knife (or both) for cutting cardboard, waterproof shelf liner or other “waterproofing” material (note: when I bought this from Amazon, it was around $6; if what you are seeing is expensive, there are sure to be cheaper alternatives)
Step 1: Obtain Box (Feta suggests buying cat food, cat treats, and cat toys from Amazon or Chewy.com, as they both have excellent boxes)
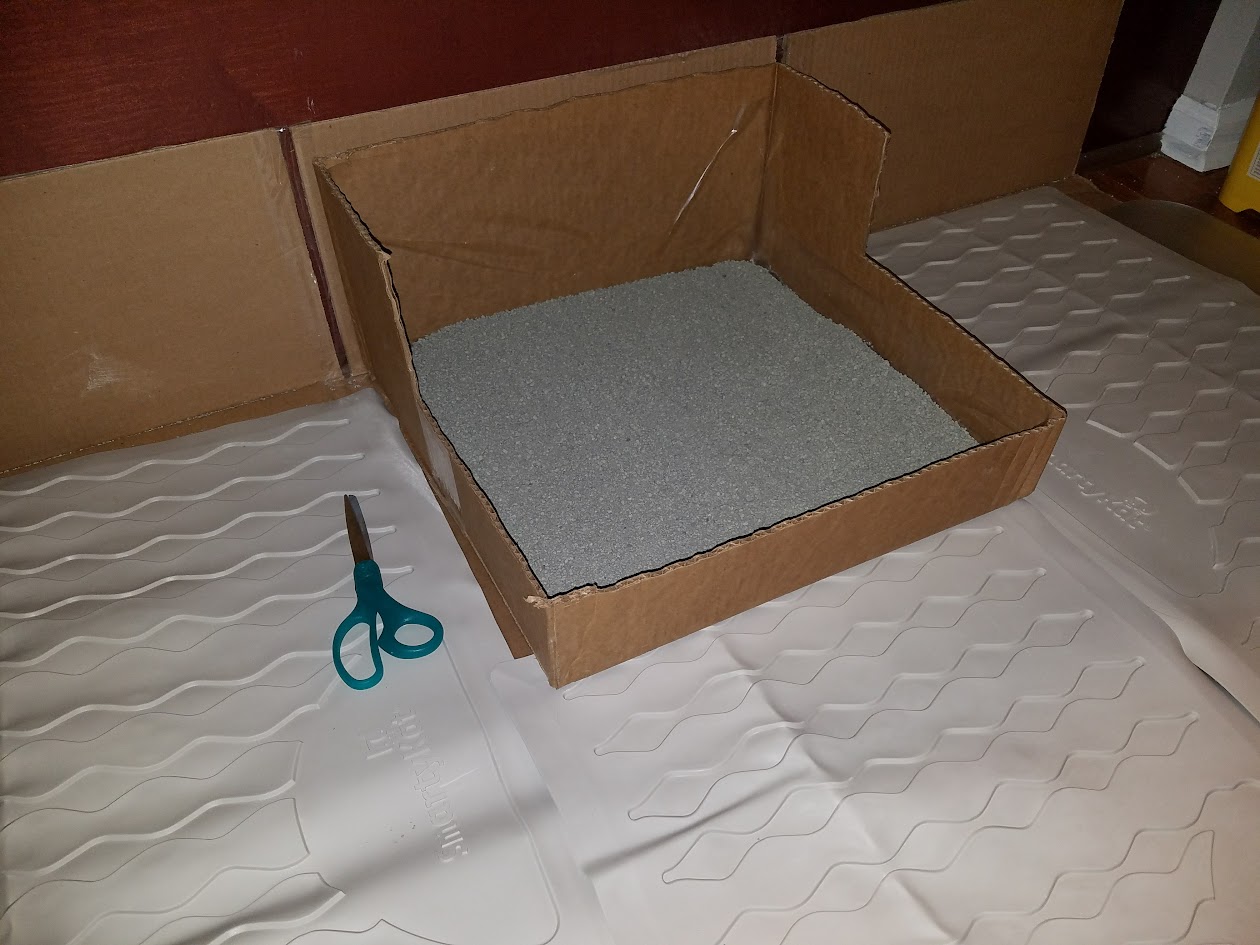
Step 2: Cut 3 walls of the box down to size. Save one of the “short flaps” to reinforce the bottom of the box. The height of the walls will depend on the mobility restrictions of your cat. For Feta, we’re currently at about 2-3″ high. Obviously, the taller the sides, the harder for your cat to get in, but the easier for you to clean up. (Leave one wall full-size to give you a “backsplash” wall, to help keep things clean.)
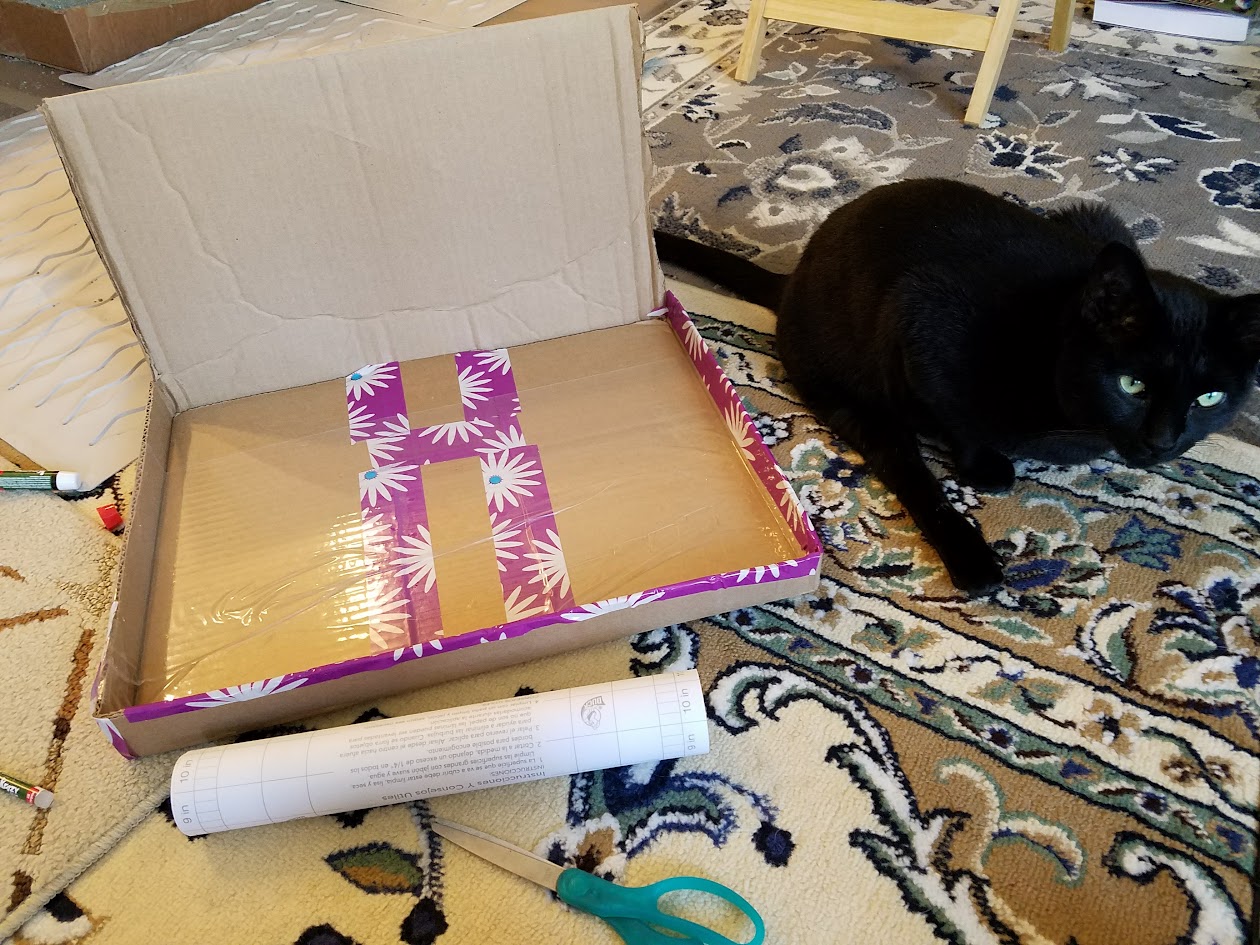
Step 3: Remove cat from box.
Explain to the cat that the box is destined for potty time, NOT playtime.
Succumb to the irresistible charms of Cat and play Box with your kitty for a few minutes.
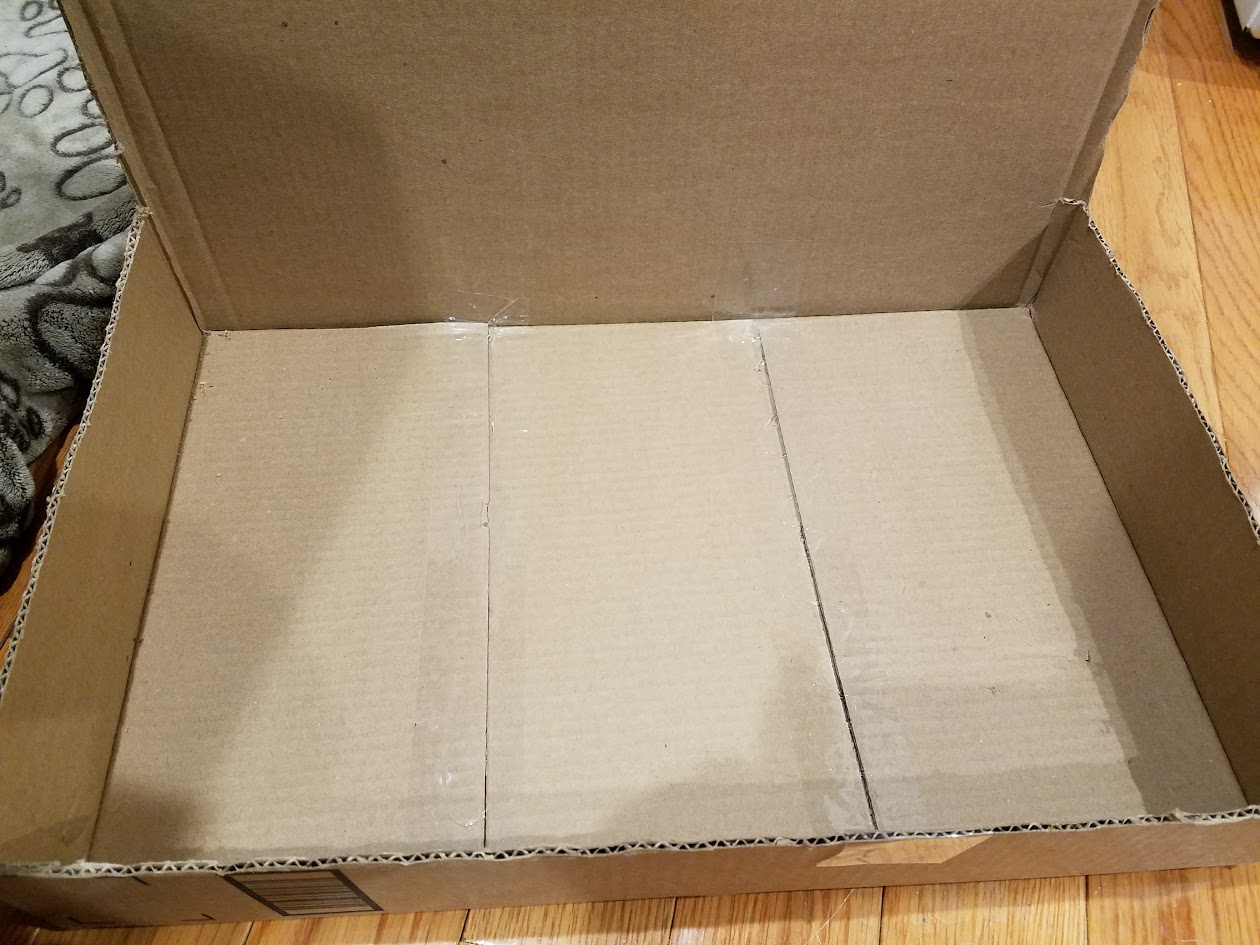
Step 3: Take the “short flap” that you set aside from Step 2, place it in the “gap” in the middle of the box bottom, and tape them together securely. The point of this is to have a nice, flat bottom without any little “cracks” that could get ripped by a vigorous litter-digger (like Feta >:( )
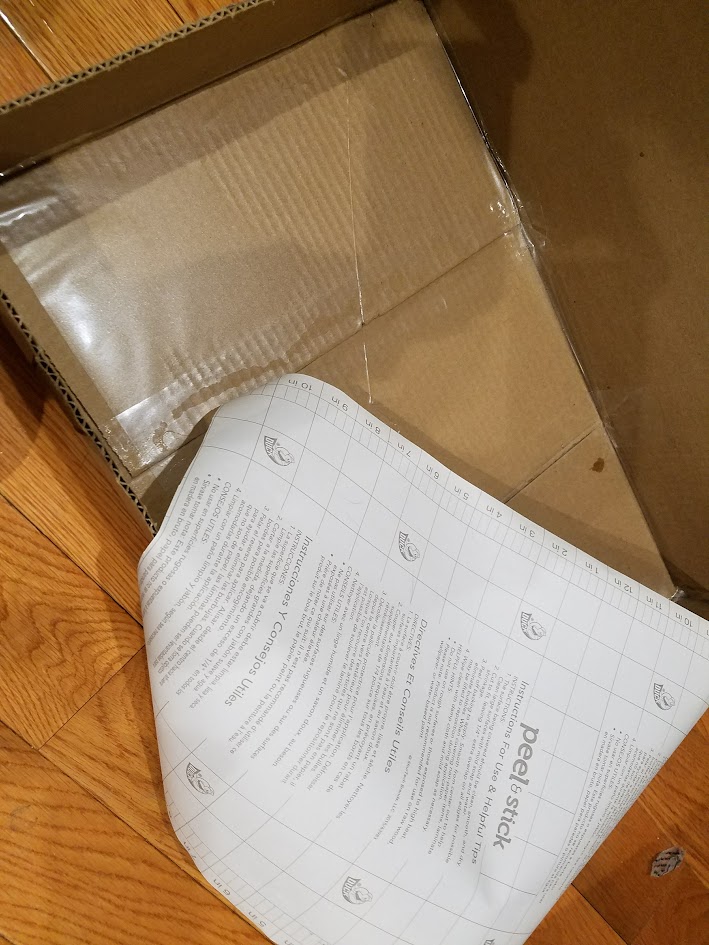
Step 4 (the hard part!): Cover the box in your waterproofing material. If your cat is a big “digger,” make sure to have as few seams as possible, and reinforce the seams with superglue. This means fewer, bigger pieces of plastic are better than smaller ones. Overlap is good, except that the plastic often sticks to cardboard better than it sticks to itself, so it can get dug up more easily.
Note: if you don’t have a waterproofing material, you can “waterproof” by covering the box with duct tape or packing tape, but because of the number of seams, this method doesn’t last as long. Also, it’s more expensive.
As I noted before, the plastic liner seems to stick to cardboard better than it sticks to smooth plastic. So, I cover the smooth areas (like tape, or the seams where it meets other layers of plastic) with a bit of superglue for extra sticking power.
The corners, obviously, are especially tricky. I end up using multiple pieces of material, again trying to avoid seams as much as possible, and adding superglue to make sure they stick together extremely well. Along the seams and along the corners of the box are where problems are going to show up first, so I spend a little extra time trying to protect these areas very, very well so I won’t have to replace the entire litterbox for a while.
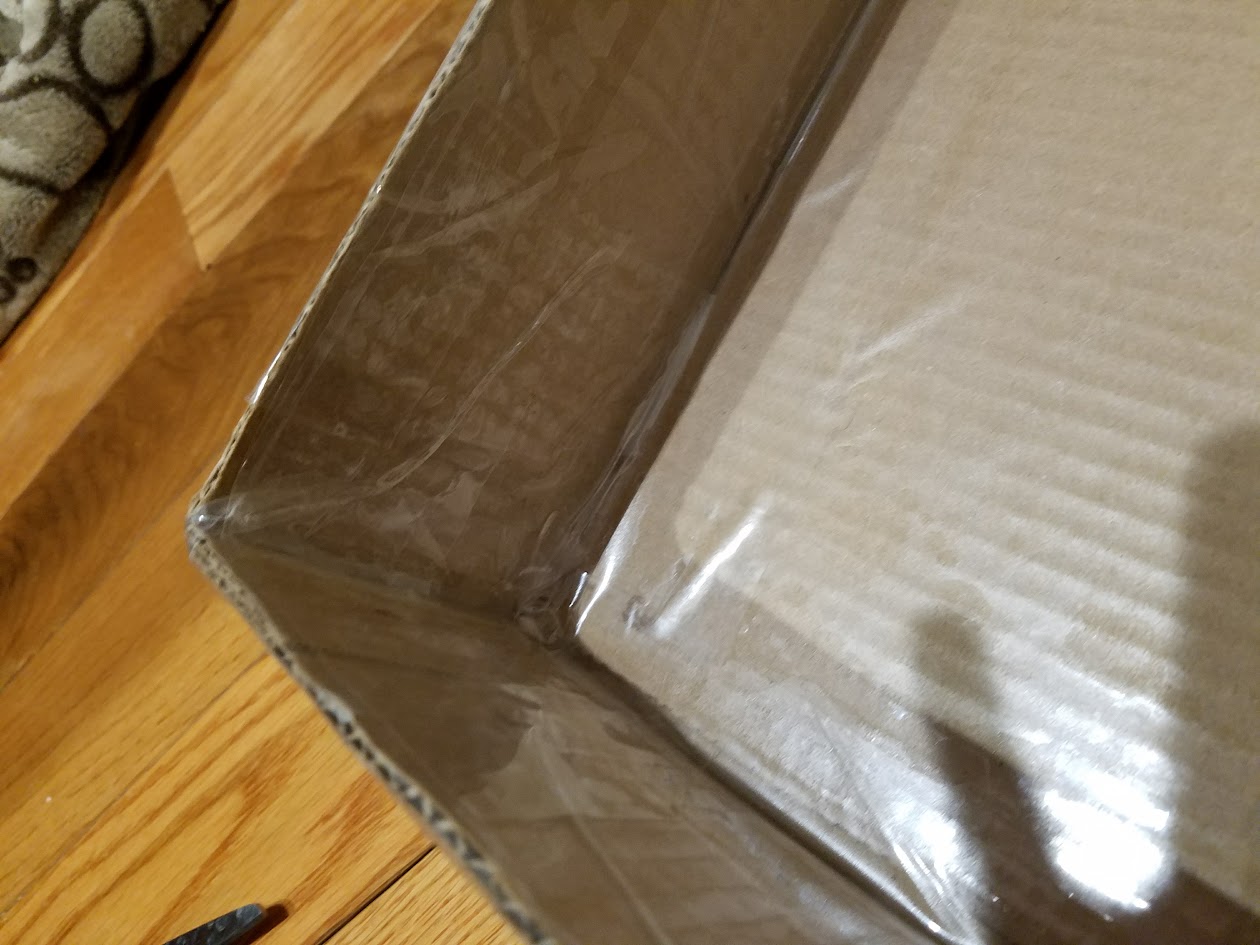
You can see in the above picture I also went up the side walls of the box and over the lip. This is optional, but I feel like it helps keep things a little cleaner, especially if your kitty is prone to… erm…. aiming problems.
Once all this is finished, you are done! Admire your handiwork. Add additional waterproofing to the “backsplash” if you like, and you can optionally extra-secure the edges on the outside of the box with more tape.

Now clean the superglue off your fingertips. How did you get so much all over your fingertips??

Finally, fill your beautiful new box with your kitty’s favorite litter, set out your multitude of floor protectors, and watch with conflicted joy and annoyance as your beloved kitty urinates and defecates all over your brilliant creation. Congratulations!!
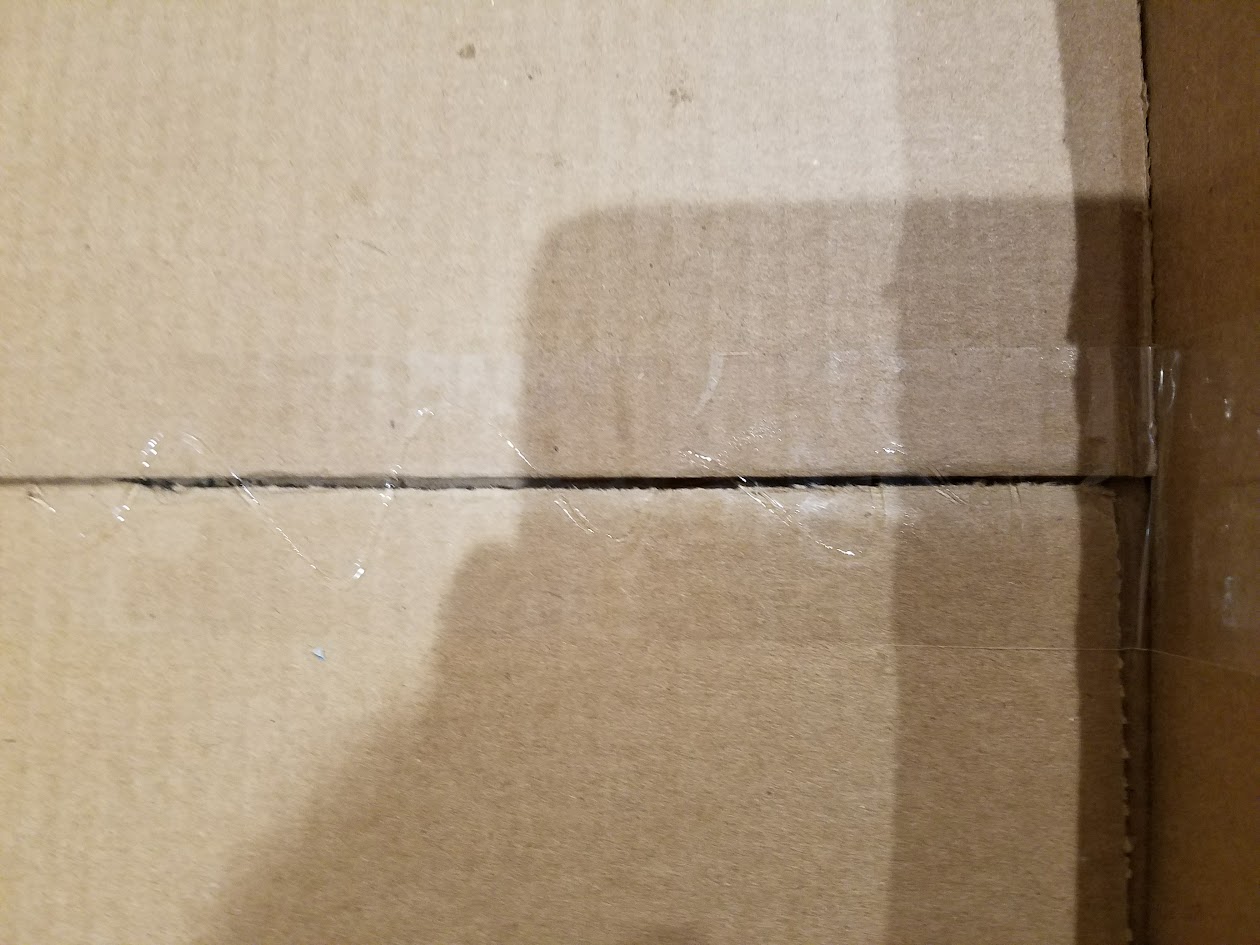
Final note: why my obsession with the seams? If your kitty digs into the litter and is able to lift up a bit of the plastic liner, the litter will get underneath it and start to give you a big mess. Behold:

So secure your seams, everyone! Now go forth and make some beautifully-functional litterbox art.
Questions / comments / tips for further improvements welcomed in comments!!!
What a great blog post! Love the step by step instructions, but I am wondering how my quad cats manage to make as much of a mess as Feta (see first photo). She can claim disability. What is their excuse?
Glad you liked it! I think the answer to your question is: cats. What are we gonna do?? As I tell my guys daily, “They’re lucky they’re cute!”
This is incredible!!! Thank you soooo much for takin time to share this!!
Feta has the Taj Mahal of bathrooms!! Oh my goodness! What you have done is absolutely brilliant!!
I love that Inspector Dog has made good use of the pads too!! Heck, why not? Cats can pee inside, why shouldn’t dogs!
This journey is challenging enough. You have taken a lot of the stress out of it with this great tutorial!
Your contribution is greatly appreciated! Thank you so much! I’m sure the techie people will provide a link to this under the Trilawds Kitty section.
And FETA is BEAUTIFUL!!
Hugs
Sally and Alumni Happy Hannah and Merry Myrtle and Frankie too!
Thanks so much! Yes, Inspector Dog – AKA Rascal – doesn’t think it’s fair that Feta Cat gets to “mark” in “his” territory of the living room. Of course, he won’t go actually IN the box, just in front of it. Sigh. Animals!!! Gotta love em… or else we’d occasionally want to chuck em out the window 😀
You are very creative, determined and funny. I guess you have to be in order to work with Feta’s challenges. She is such a fun cat. I like how she takes interest in what you are working on. She just had to check it out to make sure it works by playing with her tail. She’s so darn cute!! I’m so happy you found each other.
Kerren and Tripawd Kitty Mona
Thank you! I am so glad I found her too <3 She is indeed a very entertaining critter. I love how she finds joy in the simple things… like her own body parts. Good inspiration for me!! Maybe tomorrow I'll try chasing my earlobe or something… 😉
Great Tutorial !
Thanks for taking the time to share!
We are glad you found what works for Miss Feta! You have obviously watched and learned what works! Kudos to you!
Your a great example to find what works!
There is always something that will! Like you said trial and error and patience! My only suggestion would be to possibly cut a rubbermaid tote just like what you have done with the boxes. You would not have to replace the tote and line it like you have to with the box. But if this works for you guys stay with what works!!
Miss Feta is lucky to have you!
Chin & ear scratches to Feta!
Hugs!
Holly & Purrkins
Thank you! I love the Rubbermaid idea, but I don’t have any tools to cut it appropriately 😀 Plus, I keep telling myself this is “only temporary” until we can get her walk/hopping on her leg. (Realistically, this may never happen, but…) If I am ready to declare defeat (da feet?), I may go invest in a dremel cutter thingy and follow your advice 😀 also thinking of asking Santa for one of those awesome mats you recommended! XOXOXO <3
The Rubbermaid tote, (those are a softer plastic) you don’t need a dremel too! You can cut that with a box cutter or x-acto knife. Just have to be careful with it! The dremel tool we used on the litter boxes that plastic is too tough and you need the dremel tool. Yes great christmas gift idea on the litter mat!!! They are not cheap but they are worth it! Ask Santa for the biggest one;) Maybe he could bring Feta a couple 😉
We are also hoping this is temporary and Miss Feta will be able to hop on! Either way! Your a great MOM! Most people would of surrendered and I LOVE LOVE your determination!
We never ever give up here! Feta is lucky no matter what! So glad she found you!
XOXOXO
WOW! I love the detail you put into this post, and the terrific photos. THANK YOU.
Just like your other posts about Feta’s new life on three, this is such a helpful resource we’ll always be sure to refer feline members to when they have litterbox questions. You’re the best!
Thanks! Working with atypical critters is not easy – hoping by sharing what we’ve learned we can make the journey a little less challenging for some other folks 🙂
What we won’t do for the love of a good cat 🙂
For serious! <3
Oh my gosh you saved me tonight. My tripod, Elliott, had surgery yesterday on his only back leg due to a fall he had and dislocated his knee. I found this web page and Jerry directed m here (bless you Jerry), and now I am off to create a potty station. Giving up is NEVER an option, and now I know this can be done! Thank you so much from a grateful Momma. Much love to you and sweet Feta.
Oh I’m so glad it was helpful! I’ve since gone the pre-made route and purchased two of these: https://www.chewy.com/puppy-pan-dog-cat-small-animal-litter/dp/167816 (similar ones can be found on Amazon, etc. – I’ve seen them as low as $25). 🙂 Much love to Elliott, hope he recovers quickly!